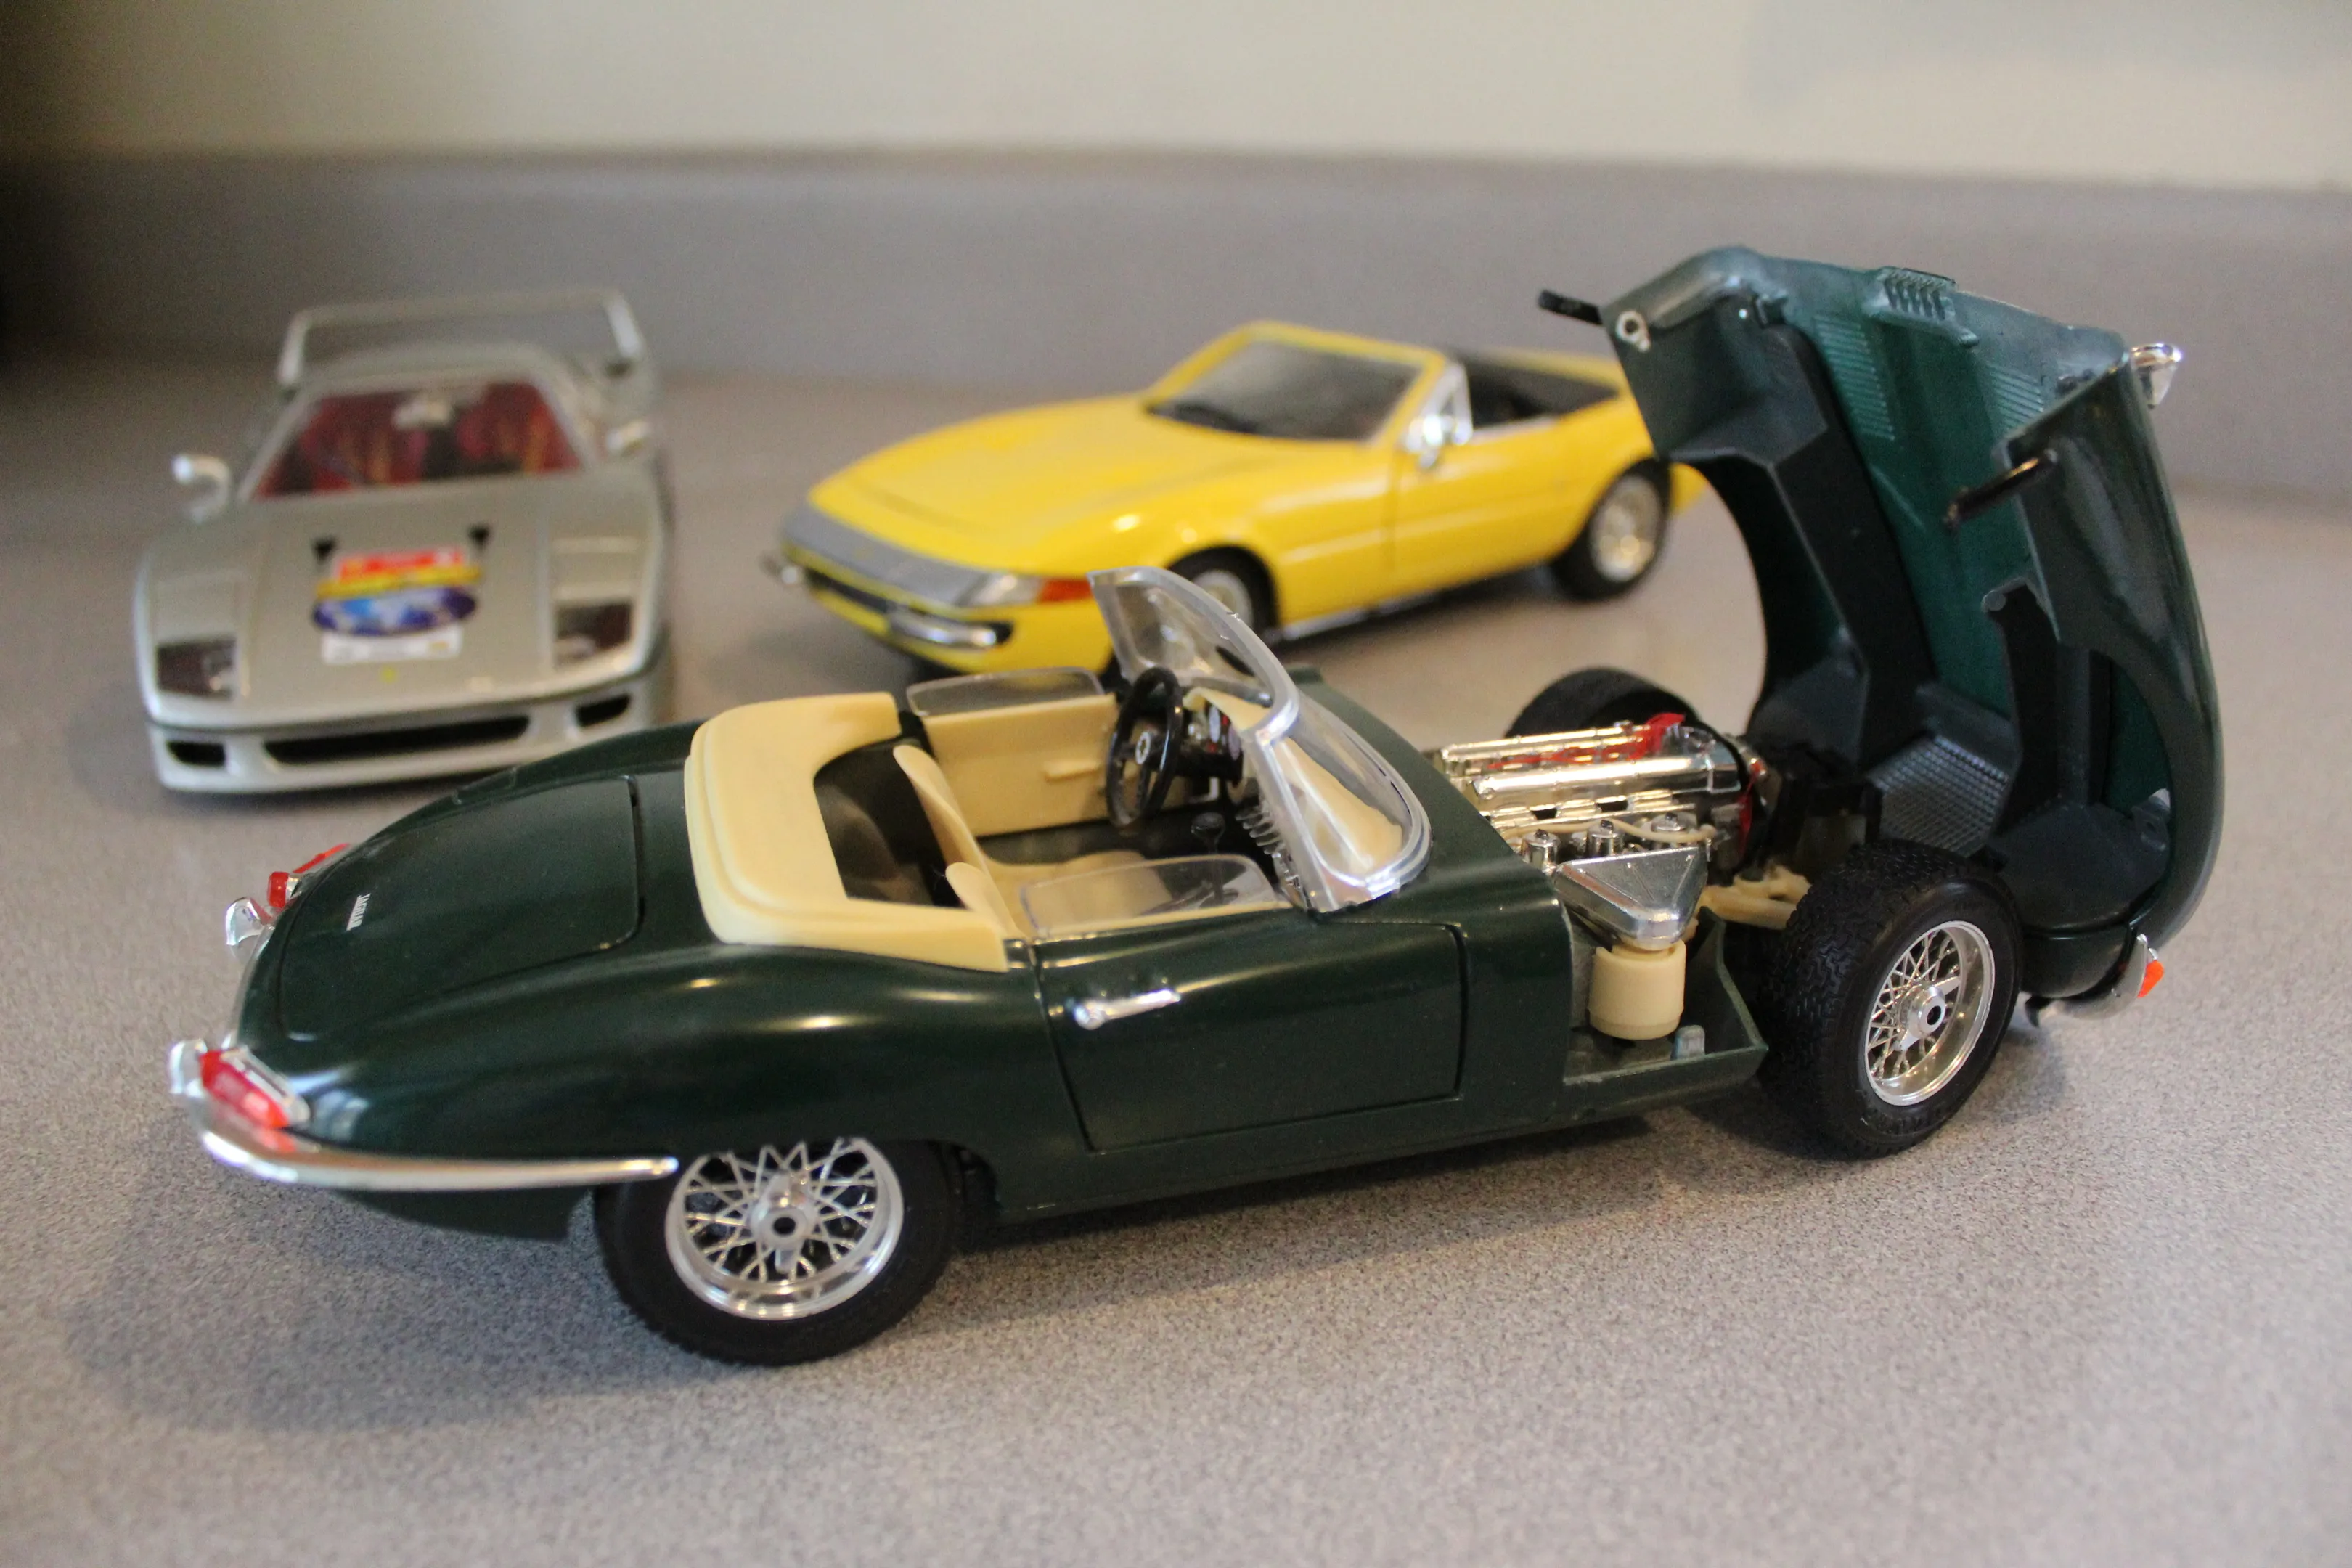
Top 5 Amazing Diecast Cars LED Lights Upgrades
Diecast cars are more than just toys; they’re miniature works of art, prized collectibles, and reflections of automotive history. For enthusiasts looking to elevate their diecast car collection, adding LED lights is a game-changer. LED lights not only enhance the aesthetic appeal of these models but also add a layer of realism, making them stand out. From illuminating the interior to creating stunning underglow effects, the possibilities are vast. This article explores the top 5 amazing LED light upgrades for your diecast cars, offering detailed guidance to help you transform your collection.
Understanding Diecast Cars LED Lights
LED (Light Emitting Diode) lights are the perfect choice for upgrading diecast cars for several reasons. First, they’re incredibly energy-efficient, meaning they consume minimal power, which is crucial for battery-operated setups. Second, LEDs generate very little heat, preventing any potential damage to the delicate plastic components of your models. Third, they’re available in a wide range of colors, sizes, and shapes, allowing for extensive customization. Moreover, LEDs have a long lifespan, ensuring your upgrades last for years. Understanding the basics of LED technology and the different types available is the first step in planning your upgrades.
Benefits of LED Lighting in Diecast Cars
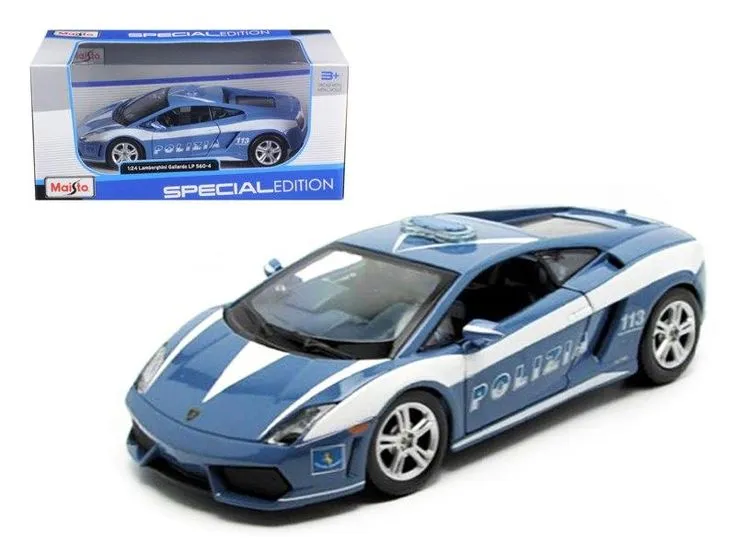
The advantages of incorporating LED lights into your diecast car collection are many. Primarily, LEDs significantly enhance visual appeal. Imagine your models with fully illuminated interiors, bright headlights, and vibrant taillights, giving them a realistic look. LED lighting adds value to your collection and makes them more attractive. LEDs are also useful for showcasing the intricate details of your models, making them stand out, especially in dimly lit environments. Beyond aesthetics, LEDs can create custom lighting effects, such as underglow, color-changing lights, and realistic emergency vehicle lighting, giving you creative control and a sense of personalization.
Upgrade 1 Add Interior Lights
Adding interior lights is a fundamental upgrade. It instantly transforms a static model into a lively display. The soft glow emanating from the inside of the car adds a sense of realism and enhances the detailing of the interior. The type of LEDs you’ll need depends on the scale of your diecast cars, but generally, small, surface-mount LEDs are ideal. Consider warm white or soft white LEDs to create a cozy, realistic interior ambiance.
Materials Required
To add interior lights, you will need: Small surface-mount LEDs (warm white or soft white recommended), a suitable power source (small batteries or a power adapter), thin wires, a soldering iron and solder, a drill with small bits, glue or adhesive, and possibly a resistor to regulate the current. When choosing your LEDs, consider the voltage they require and the power source you’ll be using. Make sure you have the appropriate tools to ensure a clean and safe installation.
Step-by-Step Installation Guide
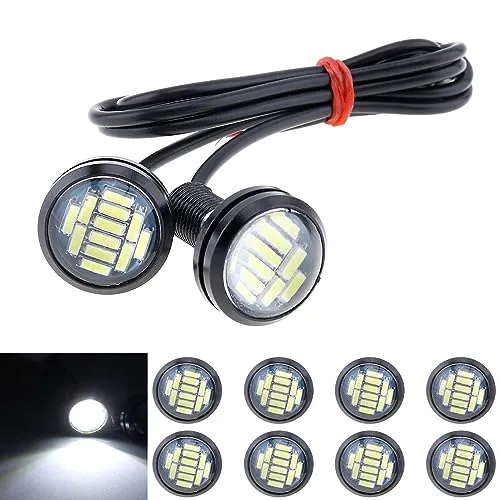
First, carefully disassemble your diecast car. Next, determine the location for the LEDs, typically on the roof or the interior ceiling. Drill small holes for the wires. Solder the LEDs to the wires, incorporating a resistor if needed. Connect the wires to your power source, ensuring correct polarity. Secure the LEDs with glue or adhesive, and then reassemble the car. Test your new interior lights and enjoy the enhanced realism.
Upgrade 2 Install Headlights and Taillights
Headlights and taillights are essential components that create a realistic look for your diecast cars. This upgrade can be more involved than interior lighting but is well worth the effort. You’ll need to carefully plan the positioning of the LEDs to mimic the original car’s lighting design. This includes considerations for headlight lenses, reflector cups, and the red lenses for the taillights. Ensure that the LEDs are properly aligned to optimize the lighting effect.
Choosing the Right LED Components
For headlights and taillights, you will need: Small, bright white LEDs for headlights, red LEDs for taillights, lenses or clear plastic to act as the light covers, a small battery or power source, thin wires, a soldering iron and solder, a drill with small bits, and adhesive. Consider using pre-wired LEDs or LED strips for ease of installation. When selecting the LEDs, look for those with a suitable beam angle to provide realistic illumination. Make sure the LEDs and the associated lenses are compatible with the scale of your diecast car.
Wiring Techniques for Headlights and Taillights
The wiring of headlights and taillights can be a little tricky. Start by carefully drilling holes for the LEDs and the wires. Solder the LEDs to the wires, adding a resistor to protect them. Test the connections to ensure the LEDs light up. Run the wires through the car’s chassis, and then connect them to your power source. Use clear or colored plastic or lenses to create the light covers, mimicking the look of the original lights. Ensure that all connections are secure and insulated to prevent short circuits.
Upgrade 3 Enhance Underglow Effects
Underglow effects can transform a diecast car into a head-turner. Underglow gives your model a unique and dramatic visual appeal. By strategically placing LED strips beneath the chassis, you create a vibrant and eye-catching effect. Consider using different colors to match your model’s style or personal preference. This upgrade can be especially impressive when combined with other lighting enhancements.
Selecting Underglow LED Strips
For underglow, you’ll need: Flexible LED strips (choose the length and color based on the size of your model and your preference), a suitable power source, thin wires, adhesive, and possibly a controller. LED strips are available in various lengths and colors, including single-color and multi-color options. Choose flexible strips that can conform to the contours of your car’s chassis. You might want to use waterproof strips for extra protection and durability. The key is to choose LED strips that fit your model and meet your desired lighting effect.
Wiring and Mounting Underglow Lights
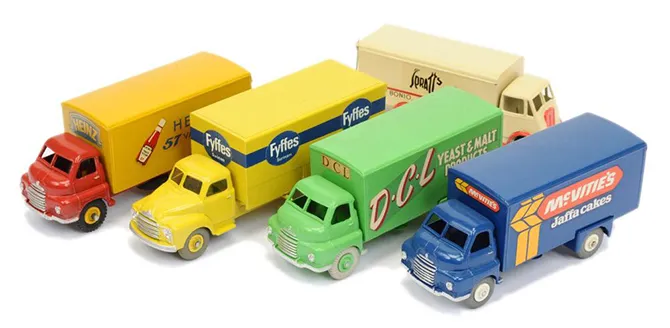
Before mounting the LED strips, clean the underside of your diecast car to ensure the adhesive sticks properly. Attach the LED strips to the chassis, using the adhesive provided on the strips or with additional glue. Run the wires from the LED strips to your power source, and make sure you secure them neatly. If you’re using a controller, connect the LED strips to the controller and then connect the controller to the power source. Test the underglow effect before you reassemble your car to make sure everything is working correctly.
Upgrade 4 Customizing with Color-Changing LEDs
Color-changing LEDs offer a high degree of customization, giving you the ability to choose from a wide array of colors and effects. These LEDs are controlled by a small controller that can be programmed to display various colors or sequences. This level of customization adds a unique touch to your collection, letting you change the look of your cars with ease.
Controlling Color with a Controller
A controller is essential for color-changing LED setups. You can use: A multi-color LED strip, a controller (capable of controlling the LED strip), a power source, thin wires, and adhesive. The controller allows you to choose the color or effect you want. Many controllers offer preset modes, while others allow you to create custom sequences. The controller is typically connected between the LED strip and the power source. These controllers can often be controlled remotely, providing flexibility and ease of use.
Integrating Color-Changing LEDs
Integrate the color-changing LEDs into your diecast car by placing the LED strips in the desired locations, such as inside the car, as underglow, or within the headlights and taillights. Connect the LED strips to the controller, and then wire the controller to the power source. Hide the controller and power source within the car, or in a discreet location. Once everything is connected, you can experiment with the different colors and effects offered by the controller to find the perfect look for your model.
Upgrade 5 Adding LED Lighting to Display Cases
Adding LED lighting to display cases greatly enhances the presentation of your diecast car collection. Properly lit display cases highlight the details of the models and create an attractive showcase for your hobby. The right lighting also protects your models from harmful UV rays that can fade paint and degrade materials.
Choosing the Right Display Case Lighting
For display case lighting, you need: LED strip lights or spot lights (choose based on the size and design of your display case), a power source, and mounting clips or adhesive. LED strip lights are a popular choice due to their flexibility and ease of installation. Spotlights can be useful for highlighting individual models. When selecting lights, consider the color temperature of the LEDs. Warm white or neutral white LEDs often provide the best look. Make sure the lighting is bright enough to illuminate the models without creating harsh shadows.
Installation Tips

When installing the LED lighting in your display case, start by cleaning the interior surfaces of the case. Attach the LED strips or spotlights using the provided adhesive or mounting clips. Ensure that the lights are positioned to illuminate the models evenly. Hide the power source and wiring to maintain a clean and professional appearance. Use a timer to automatically turn the lights on and off, extending the lifespan of the LEDs and saving energy. With a little effort, you can create an impressive showcase for your collection.
Conclusion
Incorporating LED lights into your diecast car collection is an excellent way to enhance their visual appeal, add realism, and express your creativity. With these top 5 amazing LED light upgrades, you can transform your models from static collectibles into vibrant displays. Remember to choose high-quality LEDs, plan your installation carefully, and take your time. With a little effort, you can light up your diecast car world and create a truly unique collection. Happy modeling, and enjoy the glow of your upgraded diecast cars!
