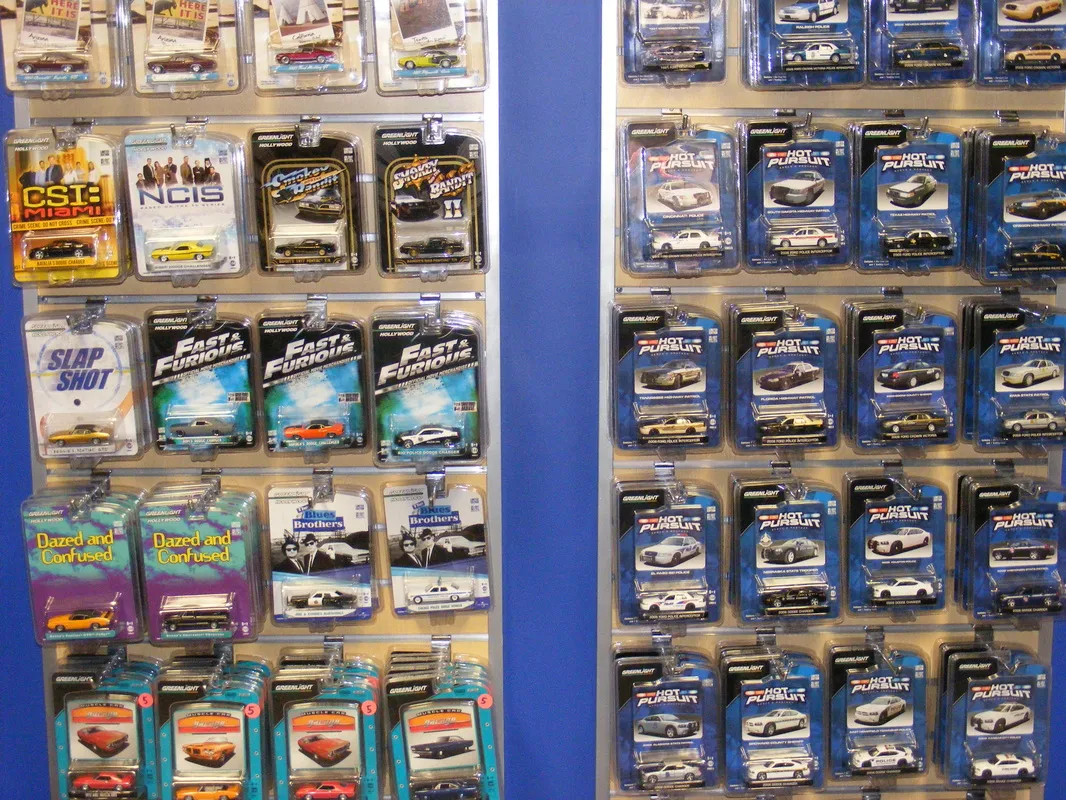
Diecast photography is a captivating hobby that combines the joy of collecting miniature cars with the art of photography. Creating stunning diecast photos requires attention to detail and a blend of technical skills. Whether you are a seasoned photographer or a beginner, these top 7 tips will help you elevate your diecast photos and create images that truly stand out. From preparation and lighting to composition and post-processing, this guide covers everything you need to know to capture the beauty of your miniature car collection.
7 Tips for Stunning Diecast Photos
Tip 1 Preparation is Key
Before you even pick up your camera, proper preparation is crucial for achieving stunning diecast photos. This involves more than just grabbing your favorite model. A well-prepared scene can significantly enhance the final image. Consider the overall aesthetic you want to achieve and how you can best bring your vision to life. This also involves cleaning the diecast models themselves, so that all of the small details are visibile on your diecast photo.
Setting the Scene
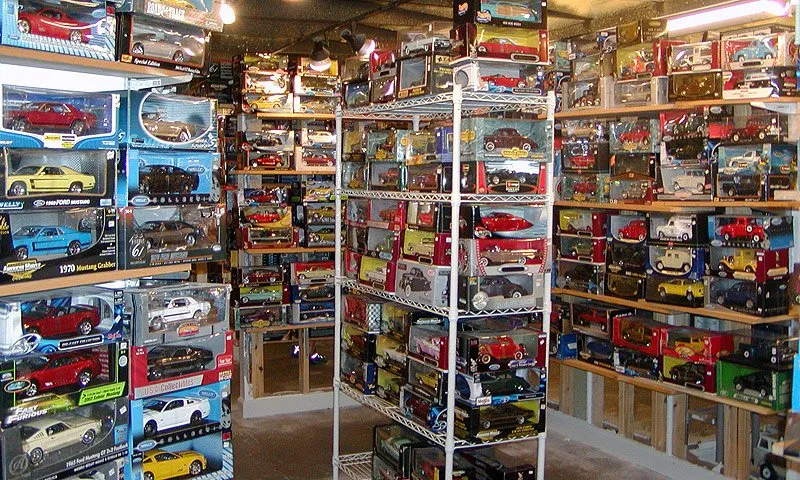
Decide on the setting for your shot. Do you want a clean studio look, or a more realistic outdoor scene? Gather any props or backdrops that will complement your diecast. A simple setup will help you highlight the model itself without distracting the viewer. A clean and organized workspace will also keep the shooting process much easier, ensuring your focus remains on crafting visually appealing diecast photos. Ensure that the scene complements the car itself.
Cleaning the Diecast
Dust and fingerprints are the enemies of great diecast photos. Use a soft brush or microfiber cloth to gently clean the model. Pay close attention to the details, such as the wheels, windows, and paintwork. Removing imperfections ensures that your diecast looks its best. This step is especially important when shooting close-ups, as even the smallest speck of dust can be very visible in the final image. A clean car will make your diecast photo much more appealing.
Tip 2 Mastering Lighting
Lighting is the single most important factor in photography. The right lighting can make or break your diecast photos, dramatically affecting their overall impact. Experiment with different light sources and angles to see how they affect the shadows, reflections, and overall mood of your images. Properly managed lighting highlights the details of your diecast and adds a professional touch.
Natural Light vs Artificial Light
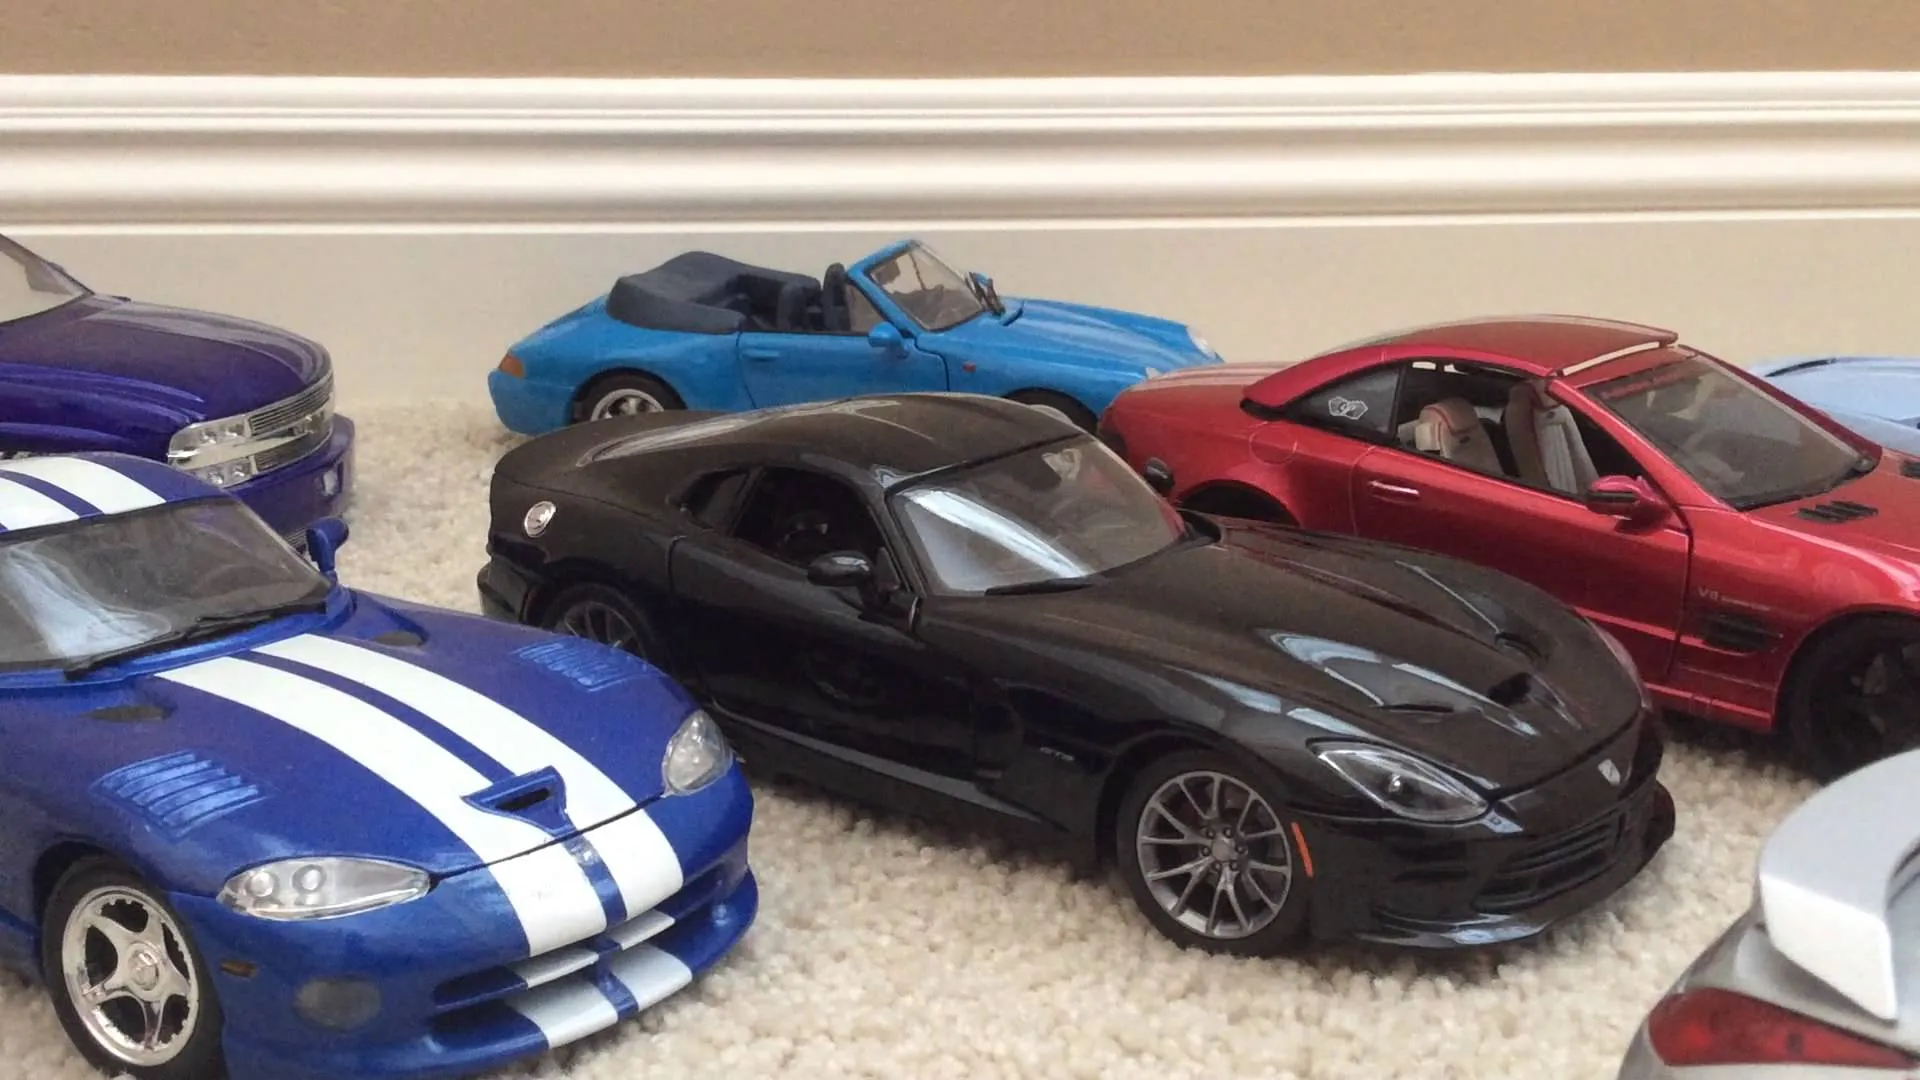
Natural light is a fantastic option for diecast photography, especially on overcast days or in shaded areas. It’s soft and flattering, creating a balanced look. Alternatively, artificial light gives you complete control over the intensity and direction of the light. Consider using a softbox or diffuser to soften harsh light from a strobe or continuous light source. The best lighting will highlight the details of the car and create a more visually appealing image. Play with different light sources to find what works best.
Using Reflectors and Diffusers
Reflectors and diffusers are invaluable tools for controlling light. A reflector can bounce light back onto your subject, filling in shadows and creating more balanced exposure. Diffusers, on the other hand, soften the light, reducing harsh shadows and creating a more even look. Experiment with different angles and distances to achieve the desired effect. Using these tools can prevent areas of your diecast photo from becoming too dark, thus creating a better overall image.
Tip 3 Choosing the Right Background
The background of your diecast photo can significantly impact the overall aesthetic. A well-chosen background will complement your model and enhance the story you are trying to tell. A background should complement the diecast car, not distract from it. Keep in mind how background choices can affect the overall mood of the image.
Creating a Simple Background
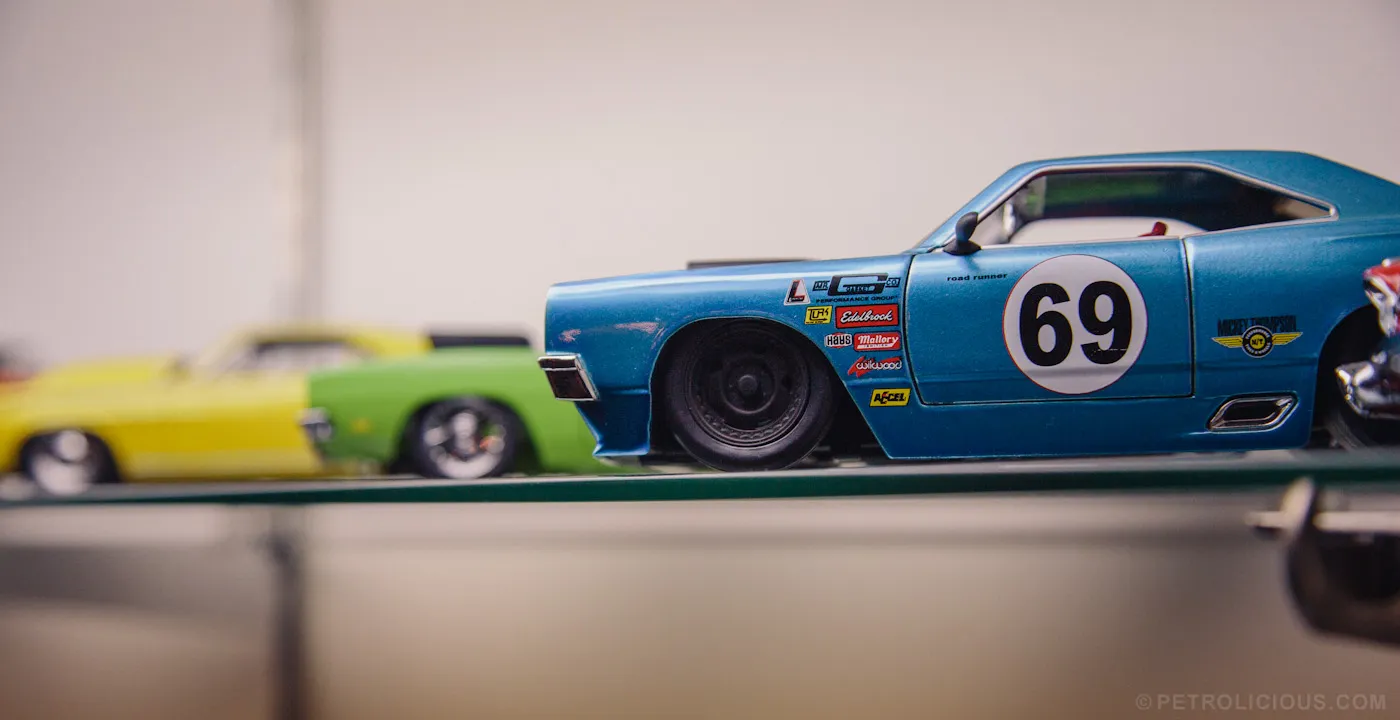
For a clean, professional look, opt for a simple background. This can be a piece of seamless paper, a cloth, or even a plain wall. The goal is to avoid distractions and let the diecast be the star. Neutral colors like white, black, or grey are often a good choice. Remember, the cleaner the background, the more attention is drawn to the model car. Also, make sure the background has a good color contrast with the diecast photo subject.
Using a Diorama
A diorama is a miniature scene that provides context and realism to your diecast photos. You can create a diorama from scratch, using materials like cardboard, foam board, and model scenery, or purchase a pre-made one. A diorama can help bring your diecast photos to life, allowing you to create a more immersive and engaging experience for the viewer. Dioramas provide a visual story that draws people in.
Tip 4 Composition Techniques
Composition is about how you arrange elements within your frame to create a visually appealing image. It involves understanding the principles of design and how to use them to guide the viewer’s eye. These composition techniques will help you transform an ordinary shot into something truly exceptional. Good composition is key to grabbing the viewer’s attention.
The Rule of Thirds
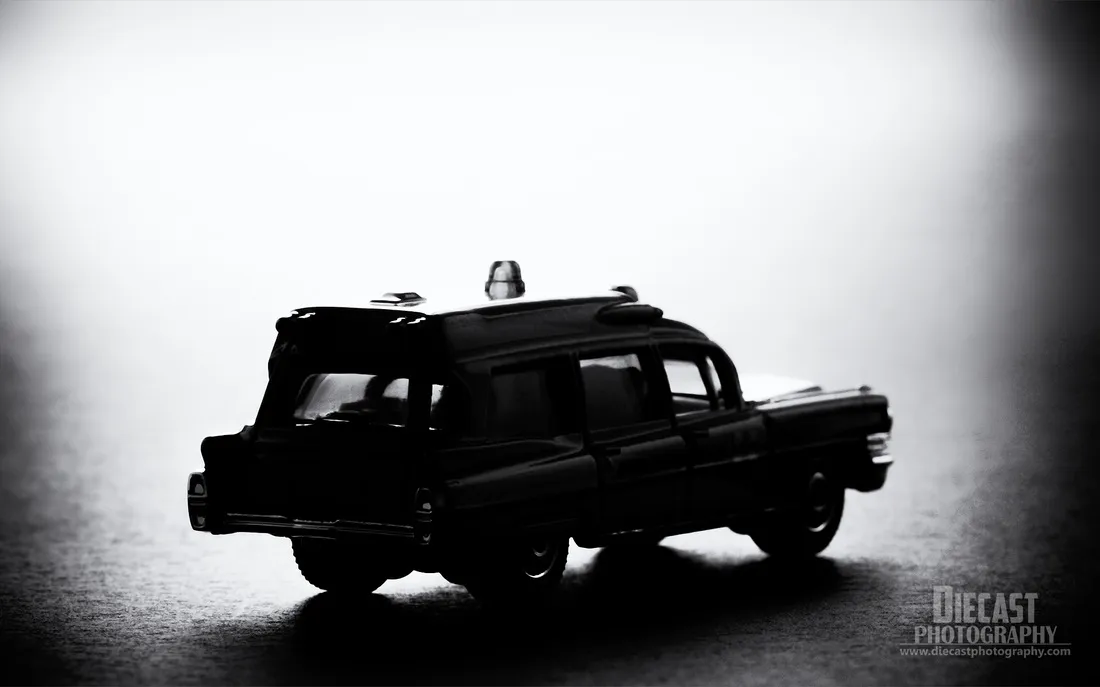
The rule of thirds is a fundamental composition guideline. Imagine your frame is divided into nine equal parts by two horizontal and two vertical lines. Place key elements along these lines or at their intersections. This creates a more balanced and visually interesting image. Place the main subject off-center to avoid a static feel. Experiment with different angles and positions to find what looks best.
Leading Lines
Leading lines are lines that guide the viewer’s eye through the image. They can be roads, fences, or any other linear element. Use leading lines to direct the viewer’s attention towards your diecast. This technique creates depth and draws the viewer into the scene. Using leading lines is a great technique to give your diecast photo a feeling of movement and depth.
Tip 5 Camera Settings Explained
Understanding camera settings is essential for taking control of your diecast photos. Knowing how aperture, ISO, and shutter speed work will allow you to manipulate your images to achieve the desired effect. Experiment with your camera’s settings to achieve the best results for your diecast photo. Each setting affects the final photo.
Aperture
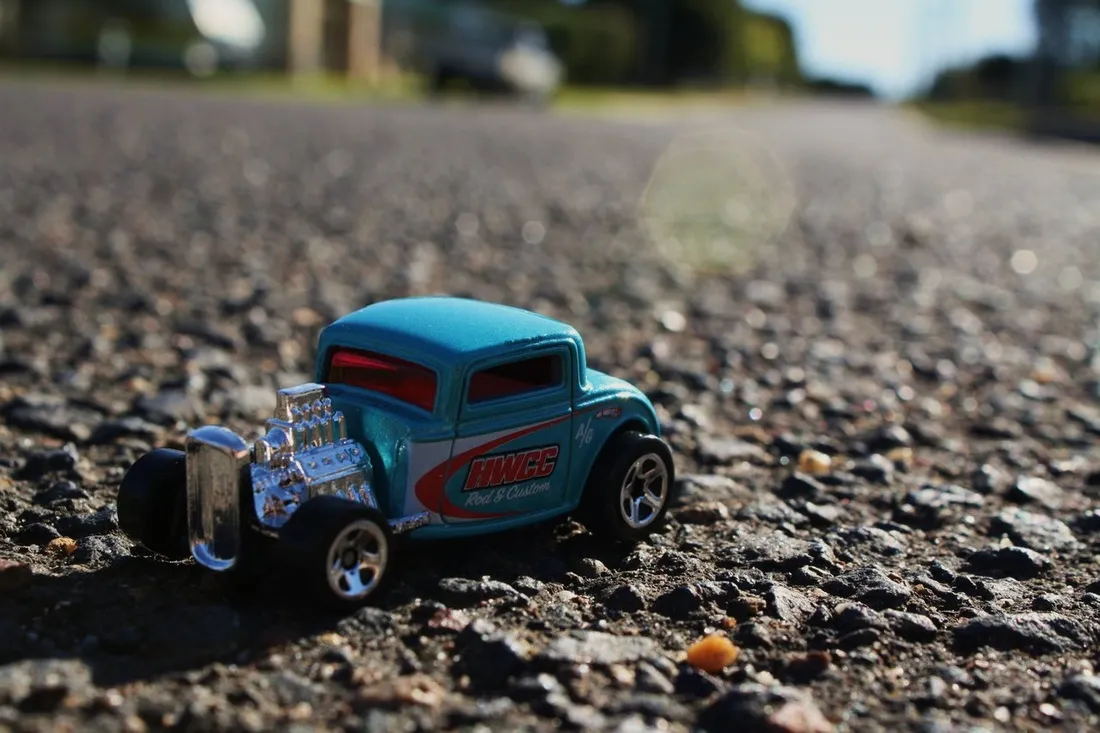
Aperture controls the depth of field, or how much of your image is in focus. A wide aperture (smaller f-number, such as f/2.8) creates a shallow depth of field, blurring the background and isolating your subject. A narrow aperture (larger f-number, such as f/16) keeps more of the image in focus, ideal for capturing details across the entire scene. Choosing the right aperture depends on the look you are trying to achieve. Experiment with different apertures.
ISO
ISO measures your camera’s sensitivity to light. A lower ISO (e.g., 100) is best for bright conditions and produces cleaner images. A higher ISO (e.g., 800 or higher) is used in low light situations, but can introduce noise or grain. Try to keep your ISO as low as possible to maintain image quality. Adjusting the ISO is key to getting great diecast photos.
Shutter Speed
Shutter speed is the length of time the camera’s shutter is open. It controls how much light enters the sensor. A fast shutter speed (e.g., 1/250s) freezes motion, while a slow shutter speed (e.g., 1s) blurs motion. In diecast photography, you’ll generally want a shutter speed that’s fast enough to avoid motion blur, unless you are trying to create a specific effect. Consider using a tripod.
Tip 6 Post-Processing Essentials
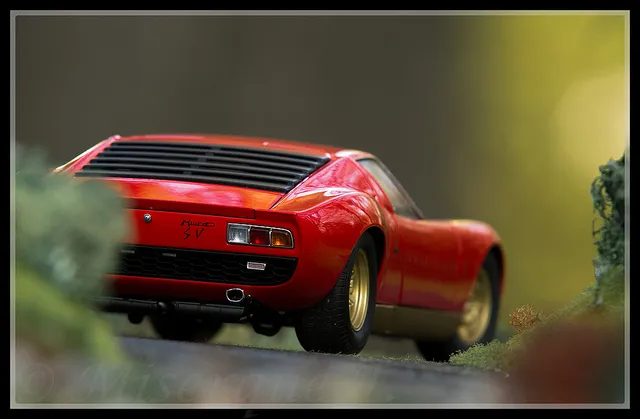
Post-processing, or editing, is the final step in the diecast photo workflow. It’s where you fine-tune your images to enhance their visual appeal. Post-processing can transform a good photo into a great one, allowing you to correct imperfections and bring out the best in your images. There are many post-processing software options.
Basic Editing Software
There are many software options, from free to professional-grade, that offer the tools you need to edit your diecast photos. Basic adjustments often include brightness, contrast, and color correction. You can also use software to crop your images and remove any distracting elements. Experiment with the different features and options in your software to find what works best for your style of photography. There are many free softwares that can achieve great results.
Color Correction
Color correction involves adjusting the colors in your photos to make them look their best. This can involve correcting the white balance to remove color casts, adjusting the saturation to make colors more vibrant, and fine-tuning the hues to achieve the desired look. Proper color correction is essential to making your diecast photos look professional. Get the color right, and your photo will look much more appealing.
Tip 7 Showcasing Your Work
Once you’ve taken and edited your diecast photos, the next step is to share them with the world. There are many platforms available for showcasing your work. Sharing your photos can help you get feedback and connect with other enthusiasts. Showcasing your work is very important for getting better in diecast photography.
Online Platforms for Sharing
Social media platforms like Instagram, Flickr, and Facebook are great places to share your diecast photos and connect with other enthusiasts. Create a profile and start posting your best work. Use relevant hashtags to increase visibility and reach a wider audience. These platforms offer a great way to get feedback and promote your diecast photography. Also, consider using online forums.
Building a Portfolio
A portfolio is a curated collection of your best work. It can be a website, a social media gallery, or even a printed album. Your portfolio should showcase your skills, style, and creativity. Regularly update your portfolio with your newest and most impressive images. A well-crafted portfolio can help you attract potential clients and opportunities. Also, you can use a blog to showcase your work.
By following these 7 tips, you can significantly improve your diecast photos and create images that stand out. Remember to experiment, be patient, and most importantly, have fun. With practice and dedication, you will master the art of diecast photography and create a stunning visual collection of your miniature car models.
