What are Diecast Models and Why Restore Them
Diecast models, miniature replicas of real-world vehicles, have captivated enthusiasts for generations. These meticulously crafted collectibles, often made from a zinc alloy known as ‘diecast,’ offer a tangible link to automotive history, engineering marvels, and personal memories. From classic cars to modern supercars, these models provide a unique way to appreciate the design and craftsmanship of vehicles. The allure of diecast models extends beyond mere aesthetics; they represent a hobby that combines history, art, and technical skill. But why restore them? Restoration breathes new life into these treasured items, preserving their value and historical significance. Moreover, the process is a rewarding experience, allowing enthusiasts to combine their passion for cars and crafts, resulting in something beautiful and unique.
Understanding the Appeal of Diecast Models
The appeal of diecast models is multifaceted, stemming from their collectibility, historical significance, and the sheer enjoyment they provide. Many collectors are drawn to the nostalgia associated with specific vehicles, recalling childhood memories or a passion for automotive history. Others appreciate the intricate details and craftsmanship involved in their production. Diecast models come in various scales, from the tiny ‘matchbox’ cars to larger, more detailed replicas. This diversity allows collectors to curate specific themes, such as classic cars, race cars, or a specific brand. Owning diecast models is often more than just collecting; it’s a form of art, a connection to the past, and a way to express individual interests. The community surrounding diecast models is vibrant, fostering a shared passion for these miniature marvels. This collective interest often creates communities where collectors can discuss their passion, share information, and buy and sell models.
The Journey of Restoration Transforming a Model
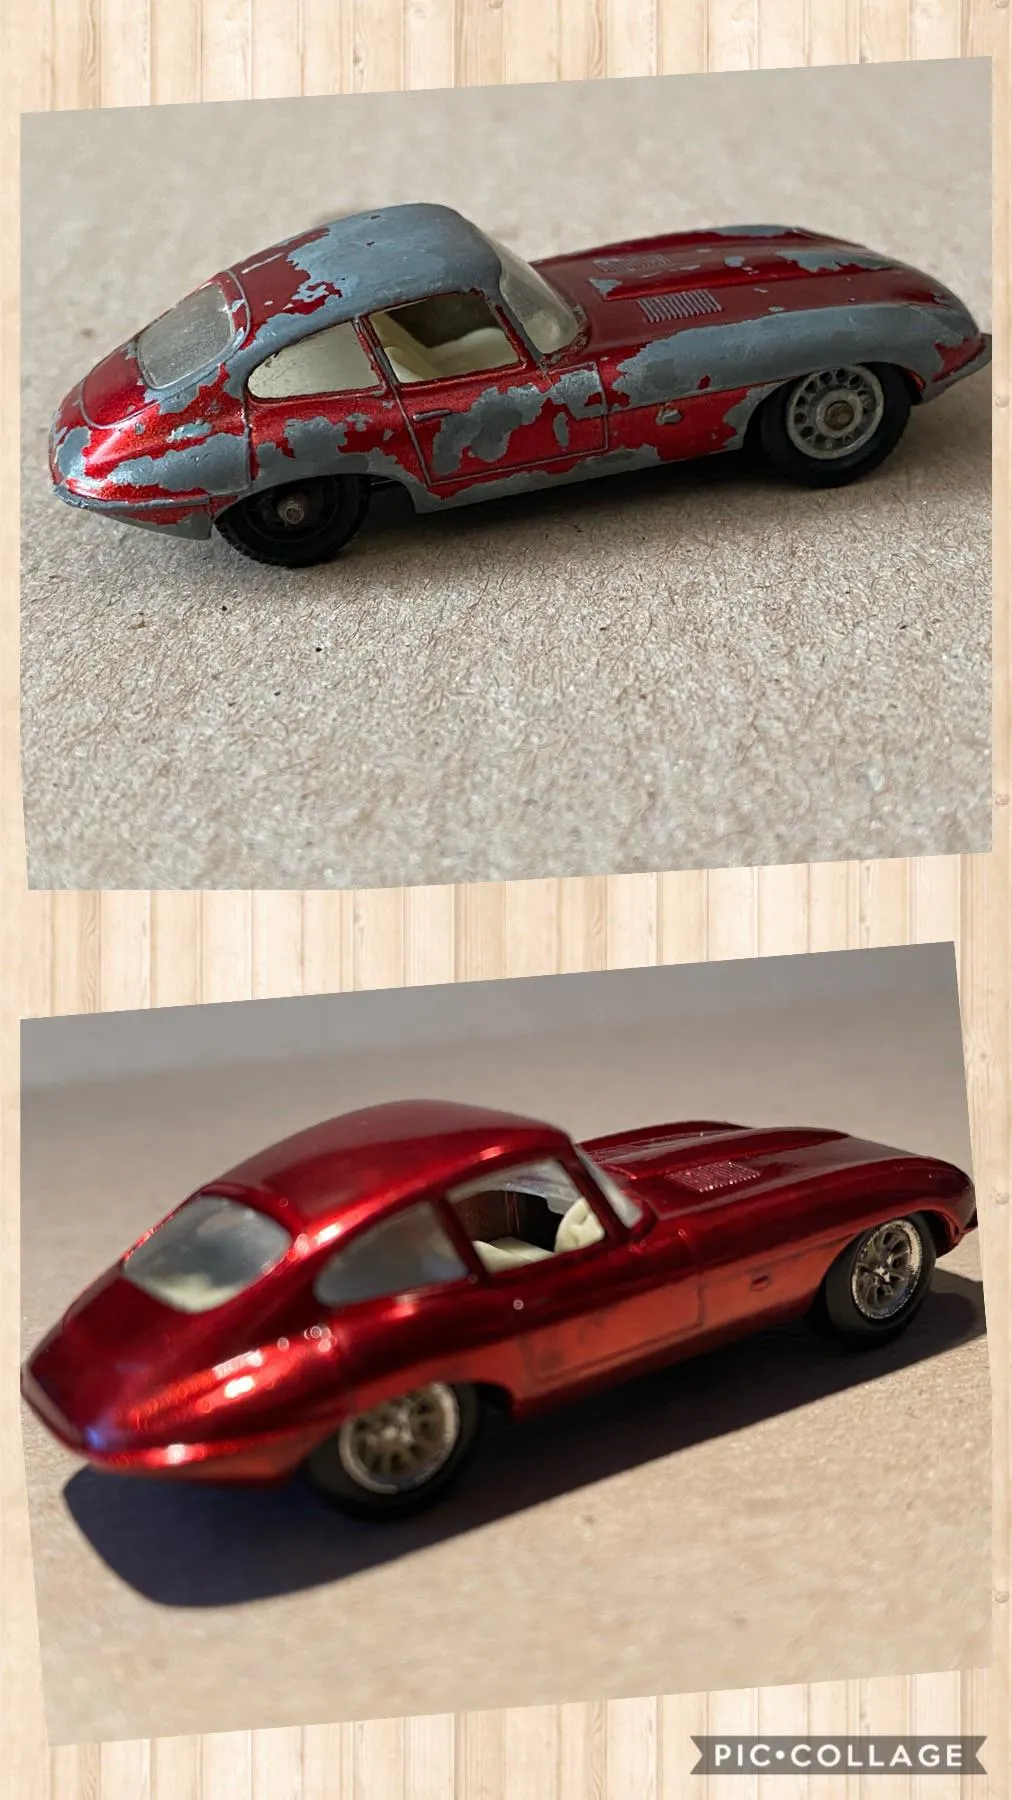
The restoration of a diecast model is a rewarding endeavor, transforming a worn or damaged item into a stunning display piece. It’s a journey that combines artistry, skill, and patience. Before beginning, assess the model’s condition, noting areas of damage, rust, and missing parts. This evaluation determines the extent of the restoration needed. The process typically begins with disassembly, followed by careful cleaning and stripping of the old paint. Removing rust is crucial, often requiring specialized techniques to protect the underlying metal. Once the model is clean and rust-free, the repainting process commences, requiring precision and attention to detail. The original color or a new, customized hue can be applied, using techniques such as airbrushing for a smooth finish. Finally, reassembly, detailing, and the application of decals bring the model back to life. The final step is often the most satisfying, as collectors see their work come to fruition.
Essential Tools and Materials for Restoration
Embarking on a diecast model restoration project requires a selection of essential tools and materials. A well-equipped workstation is key, starting with a comfortable workspace, good lighting, and adequate ventilation. Essential tools include screwdrivers (various sizes and types), pliers, hobby knives, and paintbrushes. For paint stripping, options include chemical strippers, sandblasters, or ultrasonic cleaners. Addressing rust requires specialized products like rust removers, wire brushes, and abrasive pads. The repainting stage demands high-quality paints (enamel, acrylic, or lacquer), an airbrush or spray cans, and masking tape. Additional supplies encompass primer, putty for filling imperfections, and polishing compounds. Always prioritize safety by wearing gloves, eye protection, and a respirator. Quality materials and appropriate tools streamline the process and significantly enhance the final result, making restoration more enjoyable and delivering a professional finish.
Cleaning and Disassembly
Before any restoration begins, thorough cleaning and careful disassembly are crucial steps. Start by gently cleaning the model with warm, soapy water and a soft brush to remove loose dirt and grime. Avoid harsh chemicals that could damage the paint or details. Once cleaned, carefully disassemble the model. Start by removing the wheels, axles, and any external accessories like mirrors or lights. Keep track of all the parts by organizing them in labeled containers or small bags. Take photos during the disassembly process to use as a reference when reassembling. Use appropriate tools (e.g., small screwdrivers) to avoid damaging delicate parts. Disassembly allows access to all areas of the model, making it easier to strip the paint and address any rust. This methodical approach not only simplifies the restoration but also helps to ensure all parts are accounted for during reassembly, resulting in a more authentic and successful outcome. The photo above demonstrates the importance of the disassembly process, showing all the parts needed to be restored.
Removing Old Paint and Rust
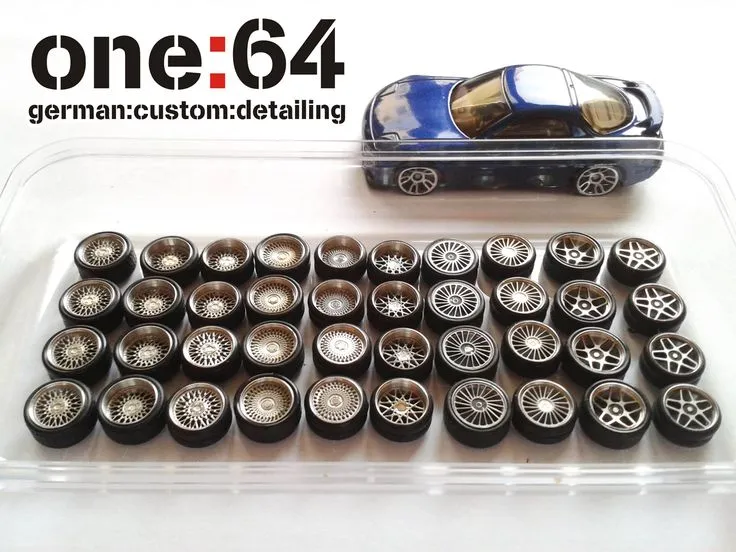
Removing old paint and tackling rust are key elements in the restoration process. Several methods exist for removing old paint, each with advantages and disadvantages. Chemical paint strippers are effective but require caution and proper ventilation. Apply the stripper carefully, following the manufacturer’s instructions. Mechanical methods, such as sandblasting or using an ultrasonic cleaner, offer another way to remove paint; however, they need precision to avoid damaging the underlying diecast metal. Sandblasting is useful but can alter fine details. Addressing rust is equally important, as it can weaken the metal and compromise the model’s structural integrity. Use rust removers, wire brushes, or abrasive pads to eliminate rust. Apply rust inhibitors to prevent future corrosion. Whichever method you choose, the objective is to achieve a clean, bare surface ready for repainting, ensuring a lasting and impressive restoration.
Paint Stripping Methods
Several paint stripping methods are available, each with its own considerations. Chemical strippers are popular for their effectiveness in dissolving old paint. Apply the stripper to the model and let it sit for the time recommended by the manufacturer before removing the paint with a scraper or brush. Mechanical methods, such as sandblasting or media blasting, use abrasive materials to remove paint. Sandblasting is effective for removing paint from hard-to-reach areas but can also erode fine details if not carefully managed. Ultrasonic cleaners offer a gentler method, using sound waves to remove paint. The choice of method depends on the model’s condition, your skills, and the available equipment. Evaluate the pros and cons of each method, considering factors like safety, the risk of damage, and the desired outcome. Always use the appropriate safety gear to protect yourself during the paint stripping process.
Dealing with Rust
Rust can seriously affect the integrity of diecast models, and it should be addressed promptly. Start by carefully examining the model to identify all rusty areas. Use a rust remover or a rust converter to treat the affected areas, following the manufacturer’s instructions. For more severe rust, carefully use a wire brush or abrasive pads to remove the corrosion physically. Be gentle to avoid damaging any details. After removing the rust, thoroughly clean the surface and apply a rust inhibitor or primer to prevent future corrosion. This crucial step helps to protect the metal and extend the lifespan of the restored model. The goal is to remove rust completely and create a clean, rust-free surface for repainting. Proper rust treatment is essential for achieving long-lasting results and preserving the value of your model.
Repainting Your Diecast Model
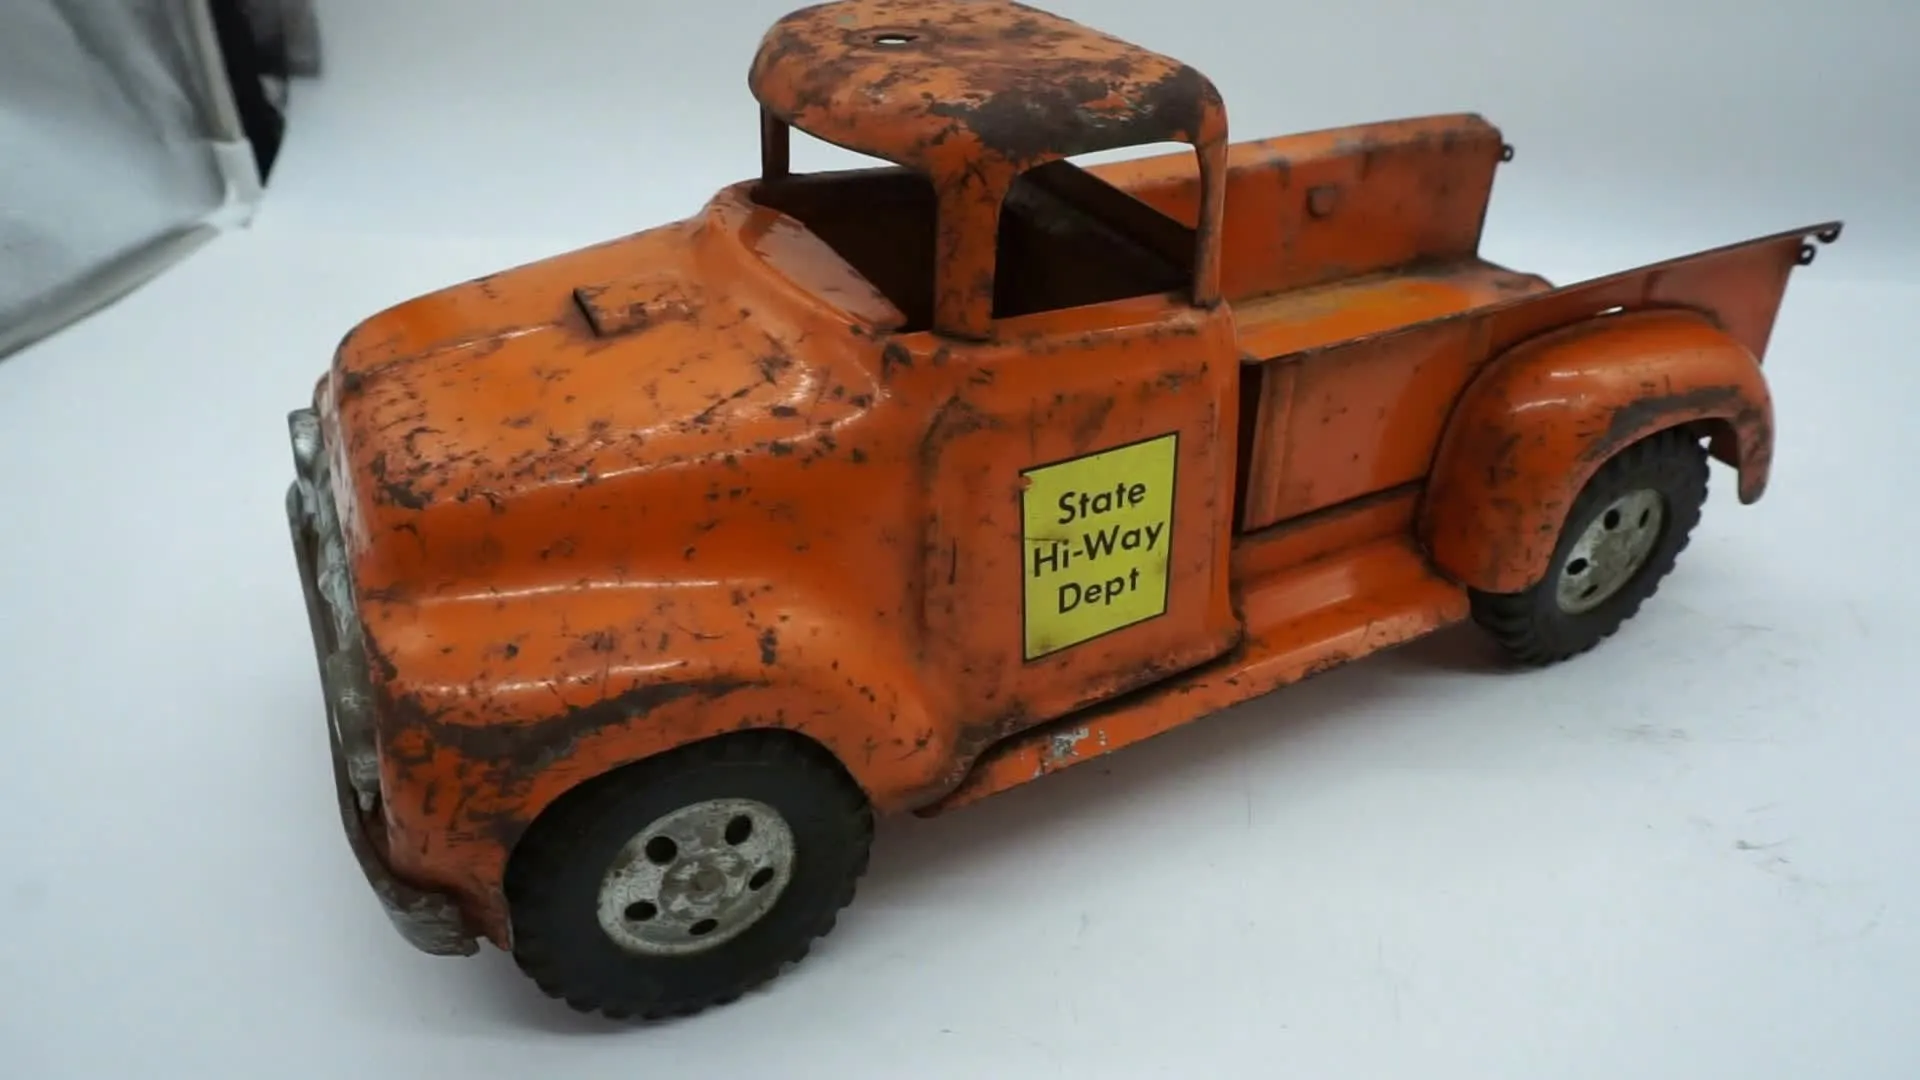
Repainting is a crucial part of restoration, and choosing the right paint and techniques is essential. Select paints specifically designed for model cars, such as enamel, acrylic, or lacquer paints. Enamel paints provide durability and a smooth finish. Acrylic paints are known for their fast drying and ease of use. Lacquer paints offer a high-gloss finish, but they require advanced skill. Before painting, thoroughly clean and prime the model’s surface to ensure the paint adheres properly. An airbrush gives superior control and a professional finish. Apply thin, even coats of paint, allowing each coat to dry before applying the next. Practice on a test surface or a similar model before painting your valuable restoration. After painting, use clear coats to protect the paint and add shine. Proper painting is a blend of art and skill, transforming a dull model into a vibrant piece.
Choosing the Right Paint
Selecting the right paint for your restoration project is a critical decision. The most common types of paints for diecast models include enamel, acrylic, and lacquer. Enamel paints are oil-based and known for their durability and smooth finish, often requiring a longer drying time. Acrylic paints are water-based, fast-drying, and offer excellent coverage and color vibrancy. Lacquer paints, providing a high-gloss finish, are more challenging to apply and require advanced techniques. Consider the model’s scale, the desired finish, and your skill level when choosing the paint. Research the available color options and choose paints that closely match the original color of the model. Using quality paints specifically designed for model cars gives superior results and creates a professional-looking finish. Read the manufacturer’s instructions and always follow the safety guidelines before you start painting.
Painting Techniques
Achieving professional-looking paint finishes requires mastering a few key techniques. Before painting, ensure the model is clean, primed, and free of dust. If you’re using an airbrush, practice on a test surface to ensure consistent paint flow and coverage. When applying paint, use thin, even coats, allowing each coat to dry completely before applying the next. Avoid the temptation to apply thick coats, as this can lead to runs or drips. Maintain a consistent distance and angle when using an airbrush, and adjust the air pressure and paint flow to achieve the desired result. Use masking tape to protect areas that shouldn’t be painted, ensuring sharp lines. After painting, apply clear coats for added protection and shine. Patience, precision, and attention to detail are essential for successful model repainting. With practice, you can achieve a beautiful finish that enhances the model’s overall appearance. These techniques contribute to the longevity and aesthetic value of your restored diecast model.
Reassembly and Detailing

After the paint has dried and the model is fully prepared, reassembly and detailing bring it all together. Start by carefully reassembling the model, following the disassembly reference photos. Ensure all parts fit correctly and are securely fastened. Adding details such as decals, emblems, and trim elevates the authenticity and visual appeal. Use the correct type of glue or adhesive for attaching small parts like mirrors or lights. Pay careful attention to details such as interior colors, dashboard features, and exterior markings. Decals add realism, so apply them carefully, smoothing out any air bubbles. Use a magnifying glass and fine-tipped tools for detailed work, allowing you to add finer details. Adding these final touches is an art, transforming a freshly painted model into a stunning replica. The process is the culmination of all prior steps, resulting in a meticulously restored model.
Adding Decals and Finishing Touches
Decals and finishing touches are essential for completing a diecast model restoration project. Decals, including logos, stripes, and markings, add realism and character. Carefully cut out the decals, submerge them in water, and apply them to the model’s surface. Use decal setting solution to help the decals conform to the model’s shape and to adhere properly. Once the decals are in place, use a clear coat to protect them and provide a consistent finish. Beyond decals, consider adding other finishing touches, such as weathering effects, panel lines, and washes. Weathering can simulate the wear and tear of a real vehicle, adding a sense of realism. Panel lines and washes enhance the details of the model. These finishing touches require artistic skill and attention to detail. Take your time, experiment with different techniques, and enjoy the process of bringing the model to life.
Common Restoration Challenges
Restoring diecast models can present several challenges, and preparing to overcome them is essential for a successful project. One of the main challenges is dealing with rust, which requires patience and specialized tools. Another common issue is broken or missing parts. Finding replacement parts can be difficult, so consider alternative solutions like scratch-building or using parts from similar models. Paint imperfections, such as bubbles, runs, or orange peel, are other issues to address. These can be corrected through sanding, repainting, and using clear coats. Patience and persistence are essential when tackling these challenges. Learn from your mistakes and continuously improve your techniques. Online forums and communities provide valuable resources and support. Understanding these challenges in advance and developing problem-solving skills will make the restoration process more manageable and rewarding, leading to better outcomes.
Preventing and Fixing Paint Bubbles
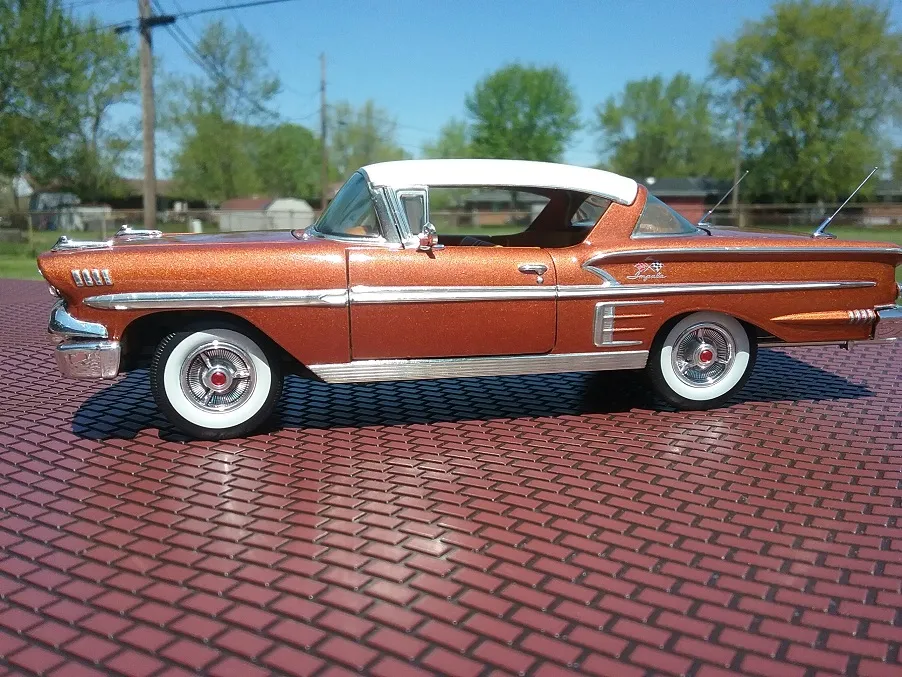
Paint bubbles are a common problem in restoration. They are caused by various factors, including moisture, trapped air, or improper paint application. To prevent paint bubbles, ensure the model is clean and dry before painting, and maintain the correct air pressure if using an airbrush. Apply paint in thin, even coats, and allow each coat to dry thoroughly before applying the next. If bubbles appear, sand the affected areas gently and reapply paint. In extreme cases, you may need to strip the paint and start over. Always follow the paint manufacturer’s instructions for optimal results. The goal is to achieve a smooth, bubble-free finish. Preventative measures, such as proper surface preparation and careful paint application, greatly reduce the likelihood of paint bubbles. Addressing the problem immediately, if bubbles occur, will salvage the work.
Dealing with Broken Parts
Broken parts are frequently encountered during diecast model restoration, and having a strategy to address them is important. The first step is to identify the broken part and assess the damage. If possible, try to repair the broken part using glue, epoxy, or other suitable adhesives. If the part is missing, search for replacement parts from other models or online retailers. Consider making a new part yourself by using plastic or metal, especially if replacement parts are unavailable. Detailed images of the original part make it easier to replicate it accurately. Patience and creativity are essential when addressing broken parts. Use appropriate tools and techniques, and research different methods to find solutions. This ensures that your restoration work is not stopped. Restoring broken parts is a rewarding challenge, adding originality and value to the model.
Displaying and Protecting Your Restored Models
Once your diecast model is restored, proper display and protection are crucial to preserving your work and showcasing your collection. Choose a display location away from direct sunlight, which can fade the paint. Consider using a display case or shelves to protect models from dust, dirt, and accidental damage. Use soft cloths to dust your models. Avoid using harsh cleaning agents. Regular maintenance, such as dusting and cleaning, will keep your models looking their best. When handling the models, always wash your hands and avoid touching the painted surfaces. By following these guidelines, you can preserve the beauty and value of your restored diecast models for years to come.
Showcasing Your Work
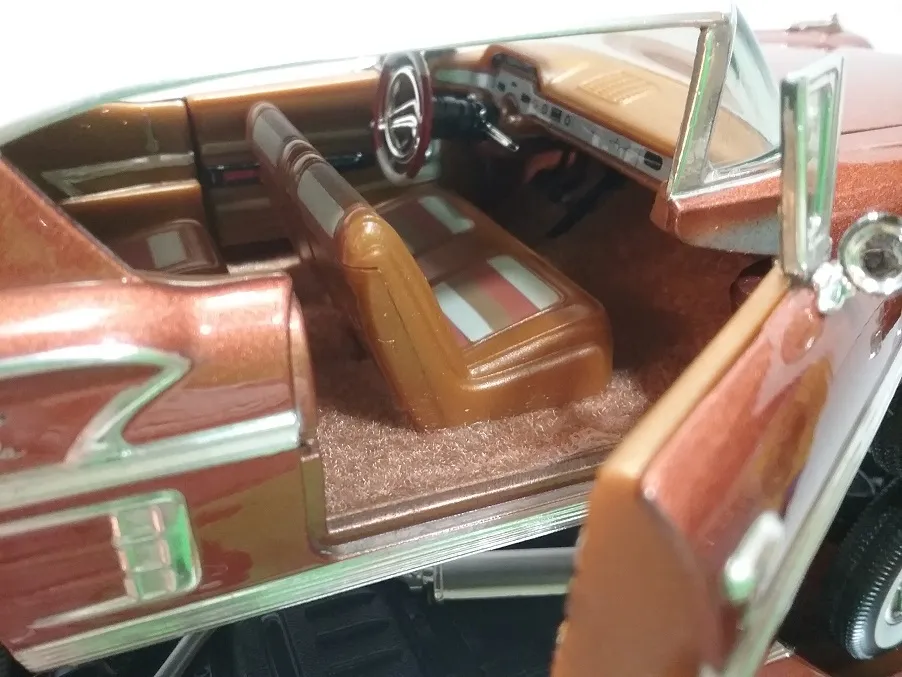
Showcasing your restored diecast models is a great way to share your passion and gain recognition for your craftsmanship. Photograph your models in good lighting to highlight their details and the quality of your work. Consider creating a portfolio or a website to display your collection. Join online communities and forums to share your work and learn from other collectors. Attend model car shows or exhibitions, allowing you to connect with other enthusiasts and display your models in person. Showcase the evolution of your work by showing the before-and-after transformations of your models. This allows you to document your skill. Showcasing your restored diecast models is a rewarding experience, enabling you to share your passion and inspire others to engage in this creative and satisfying hobby.
Long-term Care and Storage
Long-term care and proper storage are essential for preserving your restored diecast models. Store your models in a cool, dry place away from direct sunlight and extreme temperatures. Use display cases or protective boxes to shield them from dust, humidity, and potential damage. Regular dusting will help maintain the appearance of your models. Avoid storing models in areas with high humidity, as this can lead to rust and other forms of deterioration. When handling your models, always wash your hands to prevent transferring oils or dirt. Regularly inspect your models for signs of damage or wear and address any issues promptly. Following these guidelines guarantees the long-term preservation of your restored diecast models, ensuring they remain valuable collectibles for years to come. Proper care also increases their potential value.
